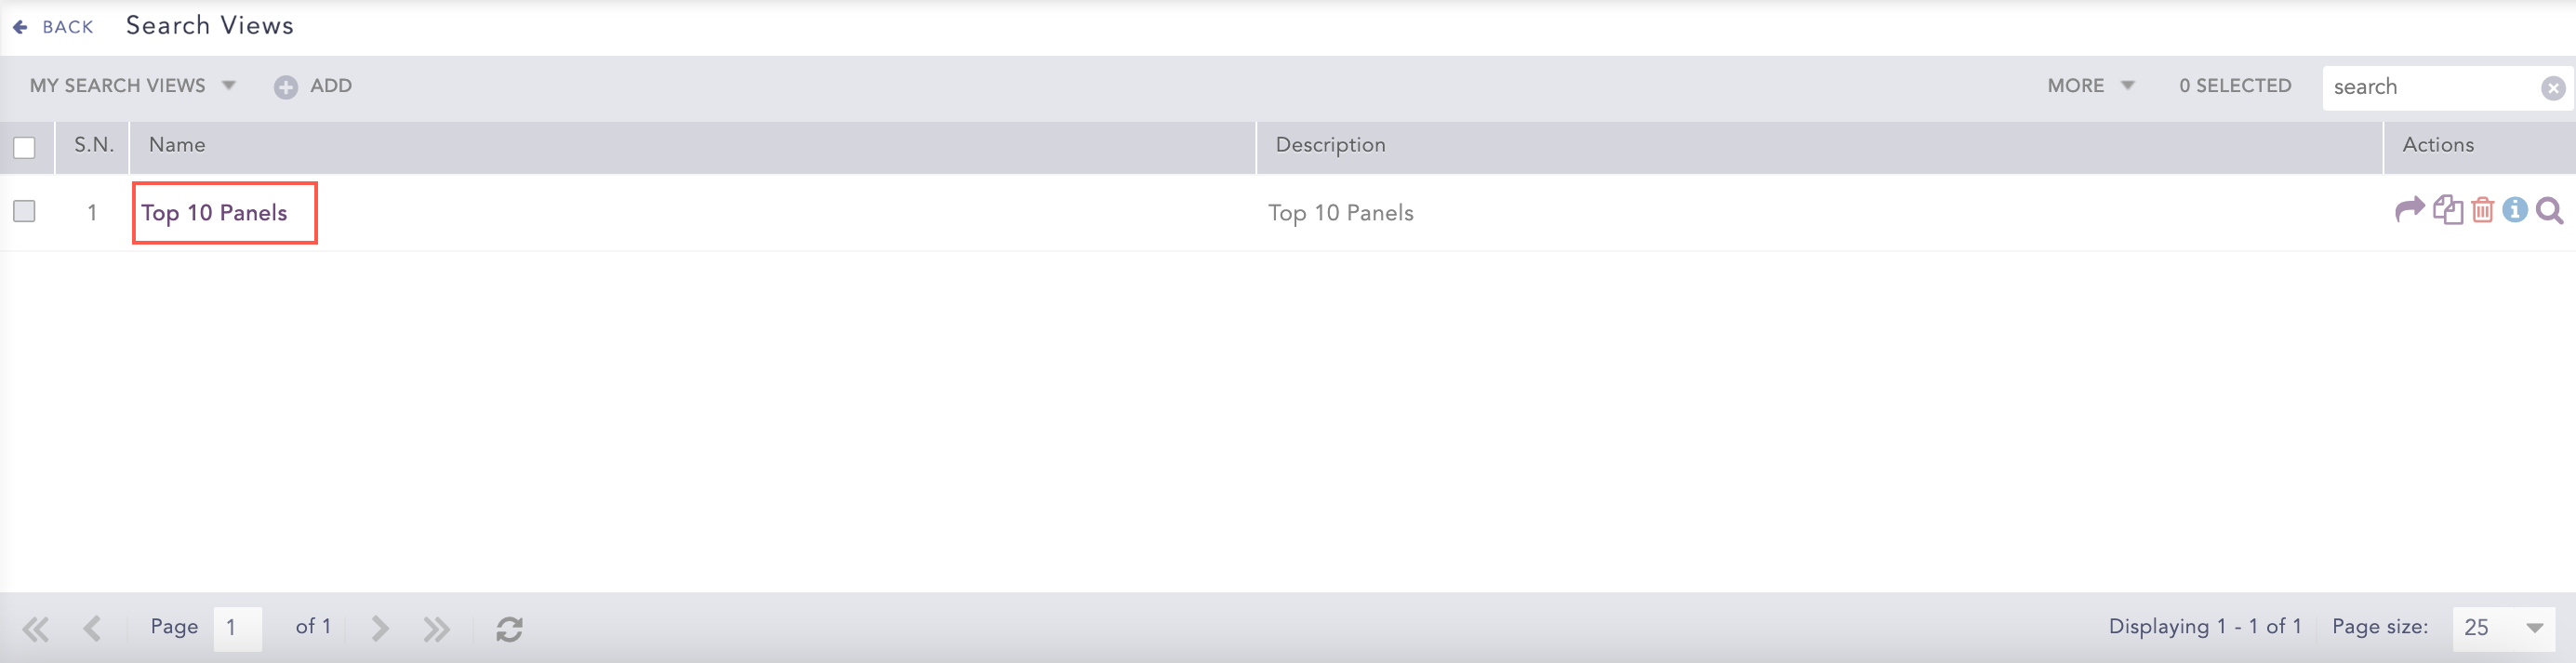
Search Views gives you with the interface that presents the top search views.
Go to Search from the navigation bar.
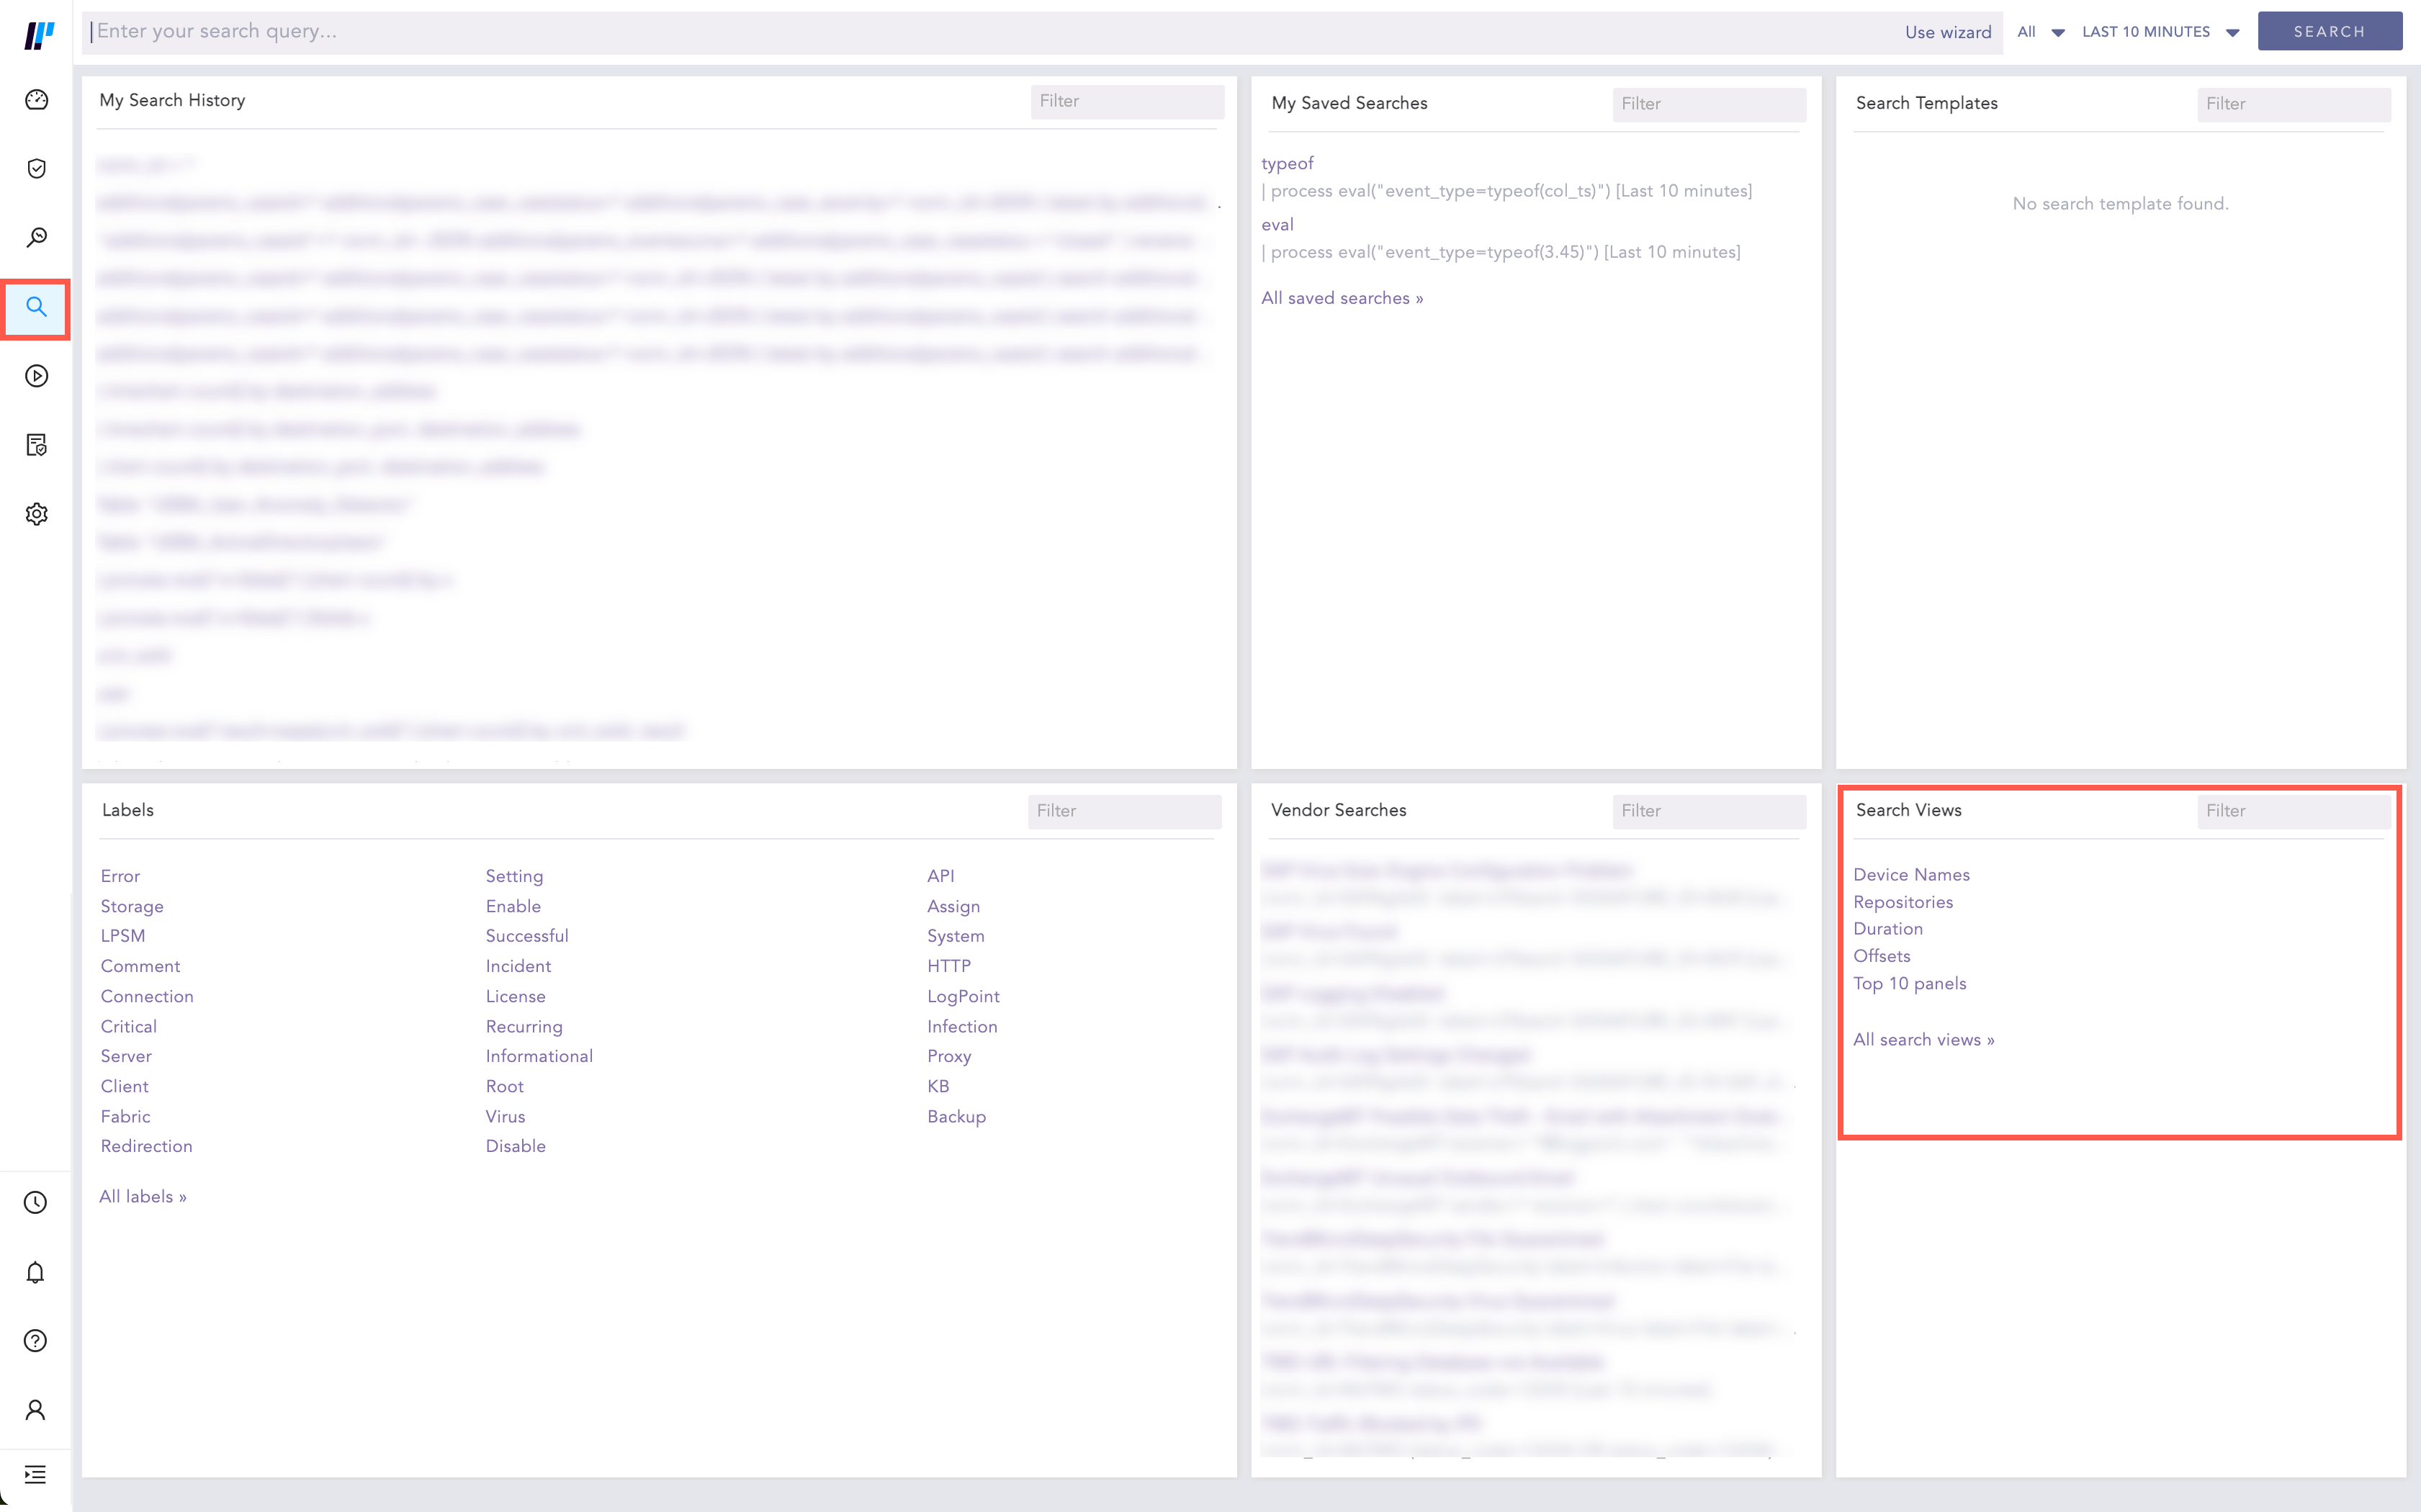
Accessing Search Views from the Search Interface
From Search Views at the bottom-right corner, you can:
See all the search views: Select the All Search Views link at the bottom.
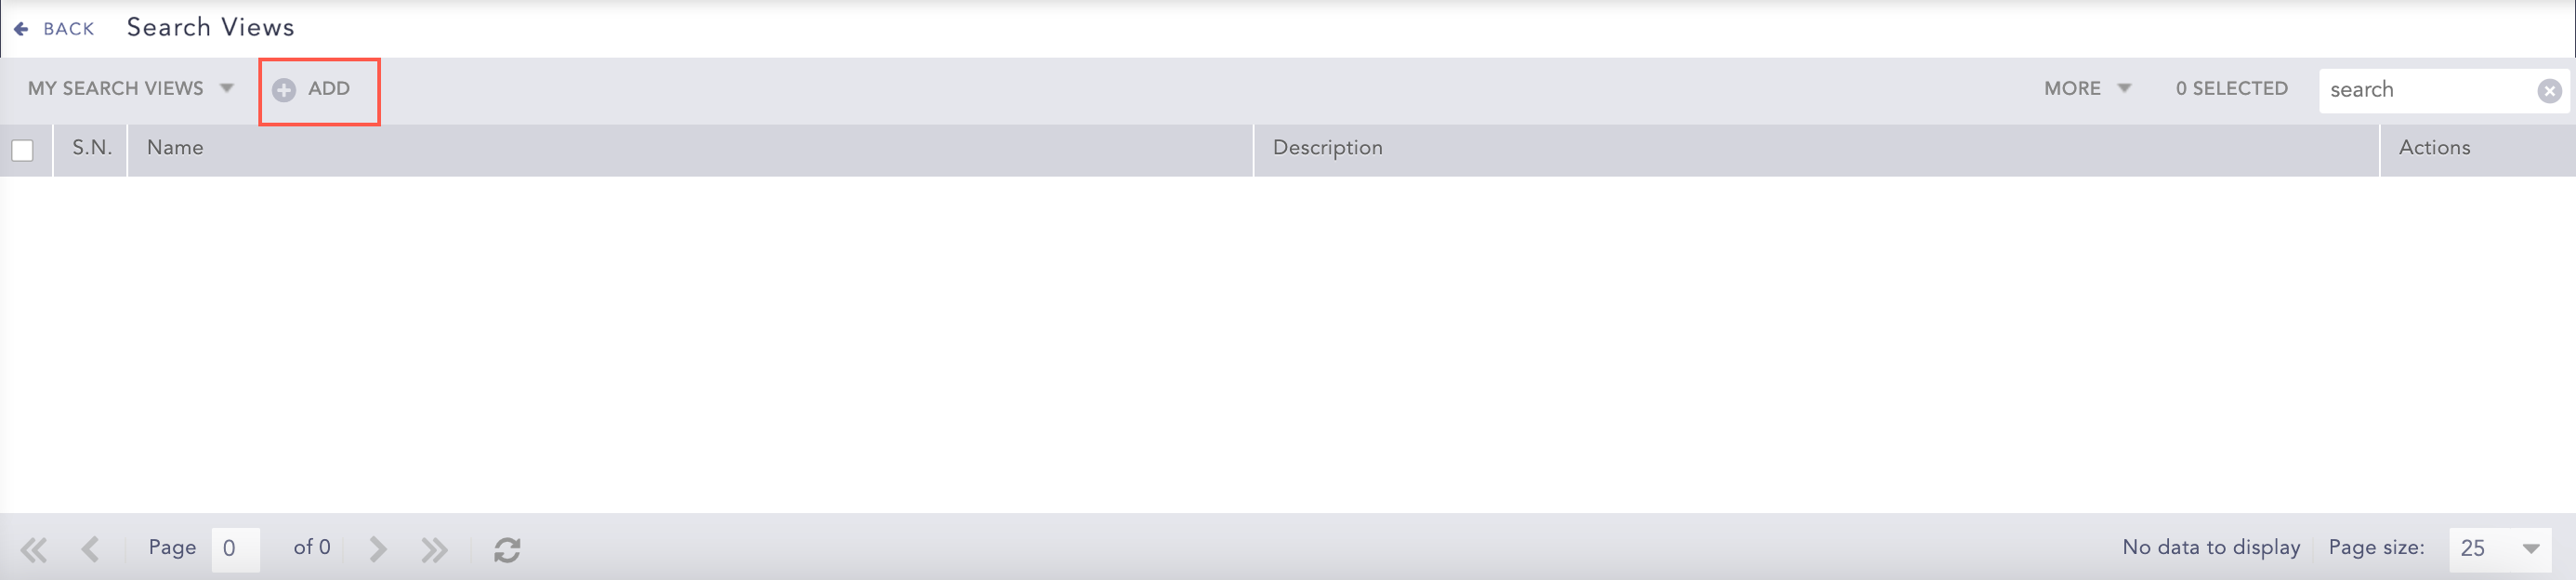
Logpoint redirects you to the Search Views page. It contains a list of all the recently created search views.
Accessing Search Views
See the search results for a single search view: Click the search view.
Logpoint redirects you the Search Views Interface. Go to Search Views Interface for more details.
You can also filter your search by entering the desired keyword in filter .
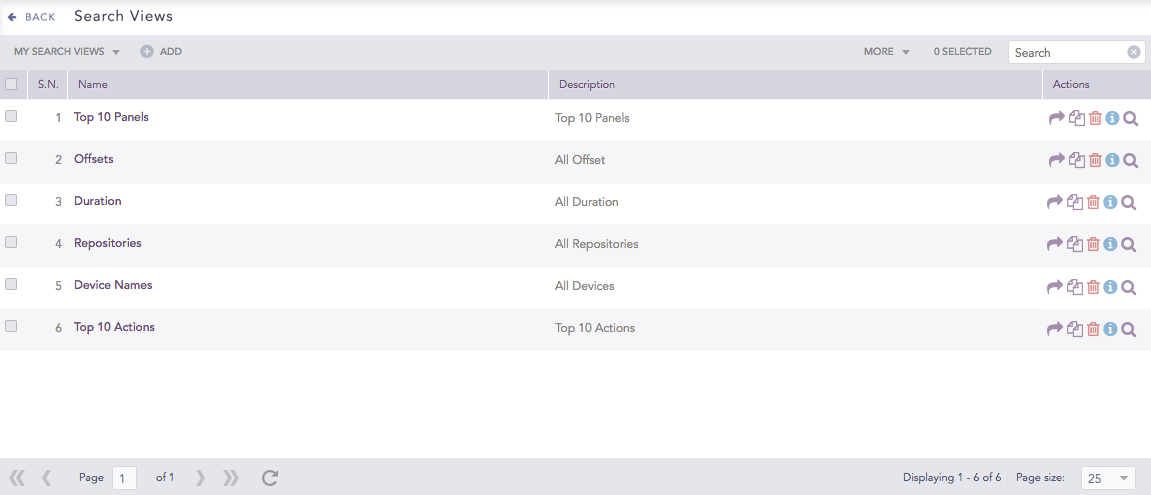
You can access the Search Views Interface page in two different ways.
By clicking a particular search view from the Search >> Search Views.
By clicking a particular search view from the list of Search Views from Settings >> Knowledge Base from the navigation bar and Search Views.
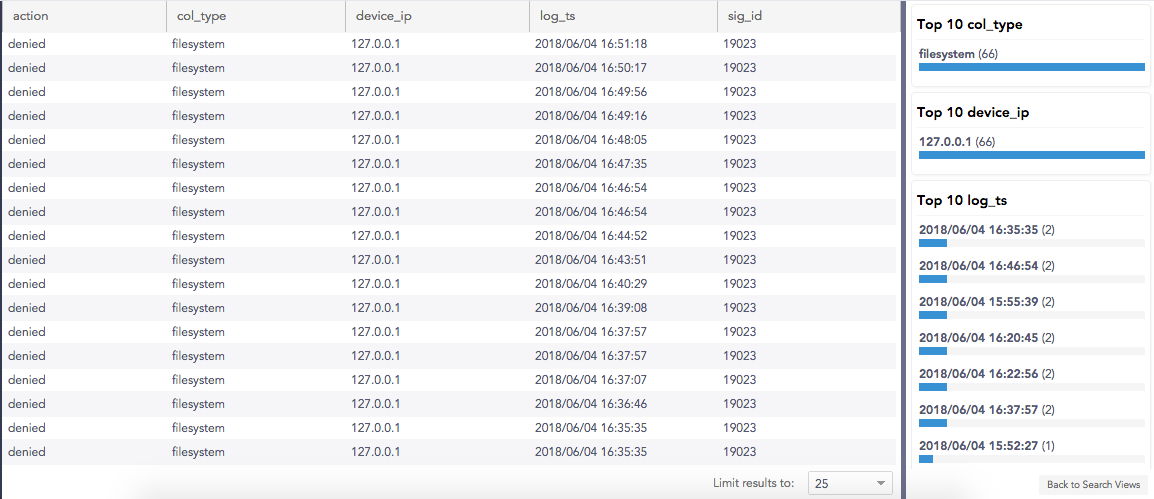
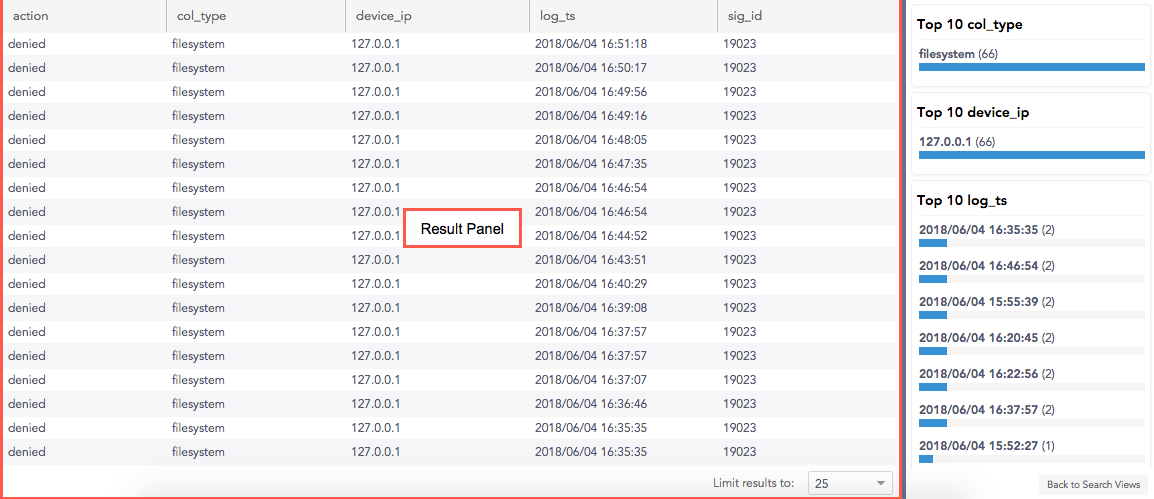
The Search Views Interface is divided into three sections, the Query Bar, the Result Panel, and the Top-10 Panel.
The Query Bar along with the Repo selector and Time range appears at the top of Search Views Interface.
Search Views Interface
The Result Panel displays the details of the selected Search View.
Search Views Interface
The Top-10 Panel displays ten most frequently searched logs for a number of fields.
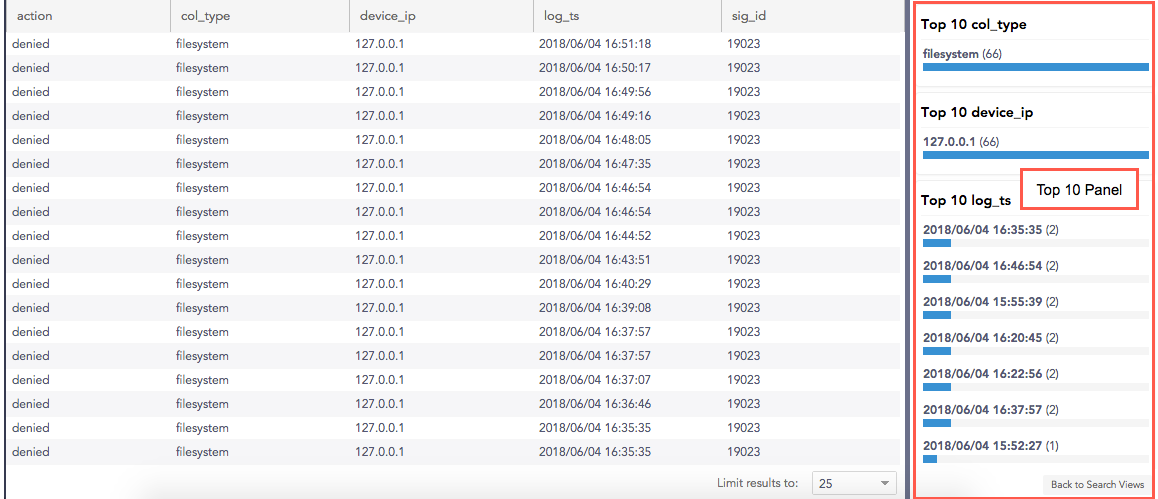
Top-10 Panel
You can increase the width of Top-10 by dragging the pointer towards the Result Panel. It gives you a comprehensive view of the Top-10 search results. Click Back to Search Views at the bottom-right corner to redirect to the Search Views List Page.
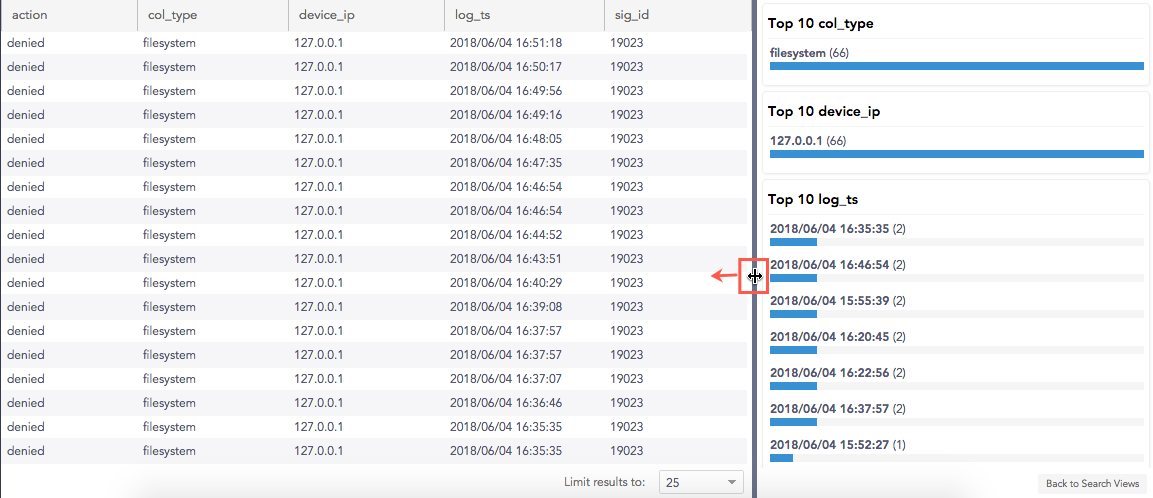
Top-10 Expanded
Go to Settings >> Knowledge Base from the navigation bar and click Search Views.
Search Views
Click Add.
Add Search View
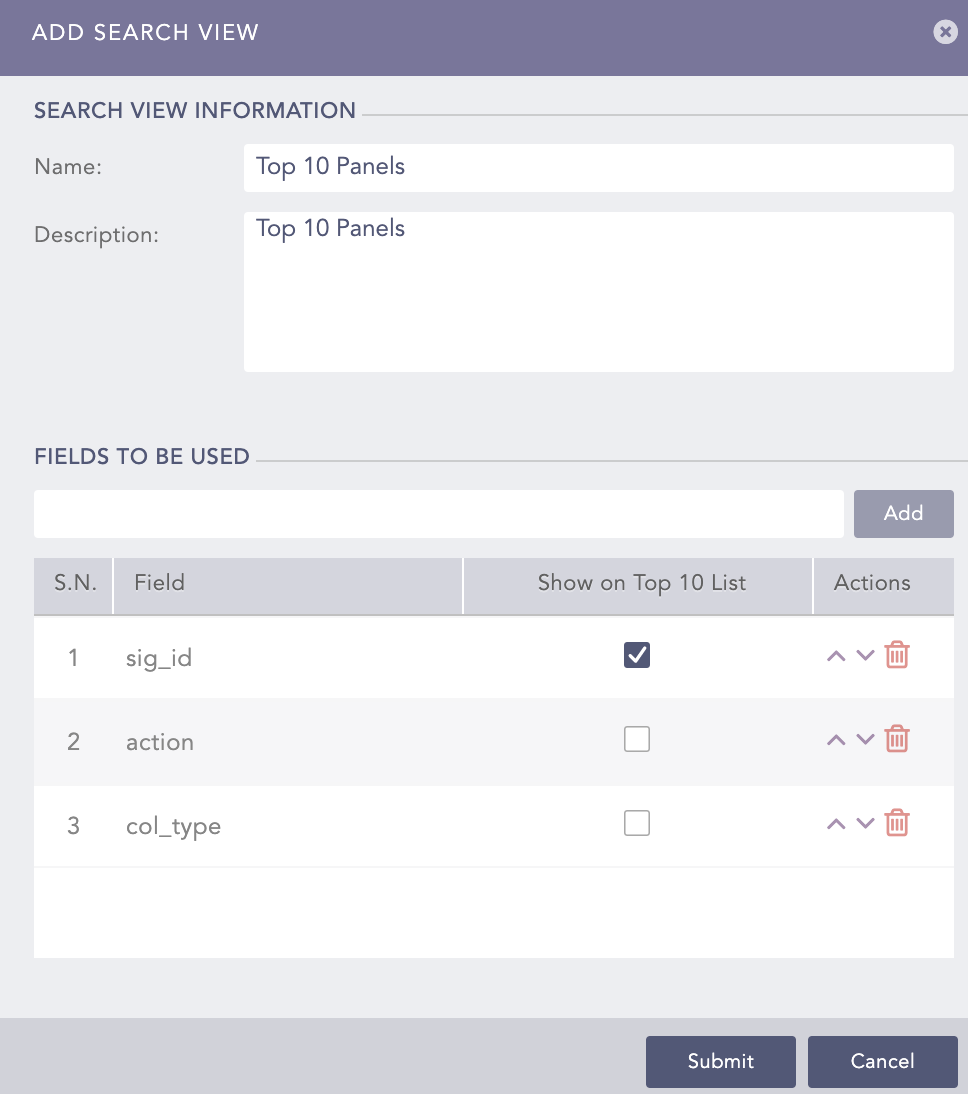
Enter a Name and a Description for the search views.
Select the fields to be used and click Add. These fields appear on the Search Views Interface. You can only add the Normalized Fields in a Search View. You can re-order the fields using the arrow keys in the Actions column.
Select the fields to Show on Top 10 List.
Click Submit.
Go to Settings >> Knowledge Base from the navigation bar and click Search Views.
Click the Name of the view to edit.
Editing a Search View
Update the information and click Submit.
Go to Settings >> Knowledge Base from the navigation bar and click Search Views.
Click the Click to Share ( ) icon in Actions for the view.
To share multiple Search Views, select the concerned views. Click the MORE dropdown and choose Share Selected With Other Users.
To share all the Search Views, click the MORE dropdown and choose Share Selected With All Users.

Sharing Search Views
Follow the same method to Unshare search views.
Go to Settings >> Knowledge Base from the navigation bar and click Search Views.
Click the Clone ( ) icon in Actions for the view.
To clone multiple Search Views, select the concerned views. Click the MORE dropdown menu and choose Clone Selected.
To clone all the Search Views, click the MORE dropdown menu and choose Clone All.
Cloning Search Views
Enter a new Name for the cloned Search View.
Check the Replace Existing? checkbox to replace an existing view with the same name.
Click Clone.
Go to Settings >> Knowledge Base from the navigation bar and click Search Views.
Click the Delete ( ) icon in Actions for the view.
To delete multiple Search Views, select the concerned views. Click the MORE dropdown and choose Delete Selected.
To delete all the Search Views, click the MORE dropdown menu and choose Delete All.
Deleting Search Views
Click Yes.
Clone*, Information, and Use are the only actions available for the Shared Search Views.
Go to Settings >> Knowledge Base from the navigation bar and click Search Views.
Click the Use ( ) icon in Actions of the concerned view.
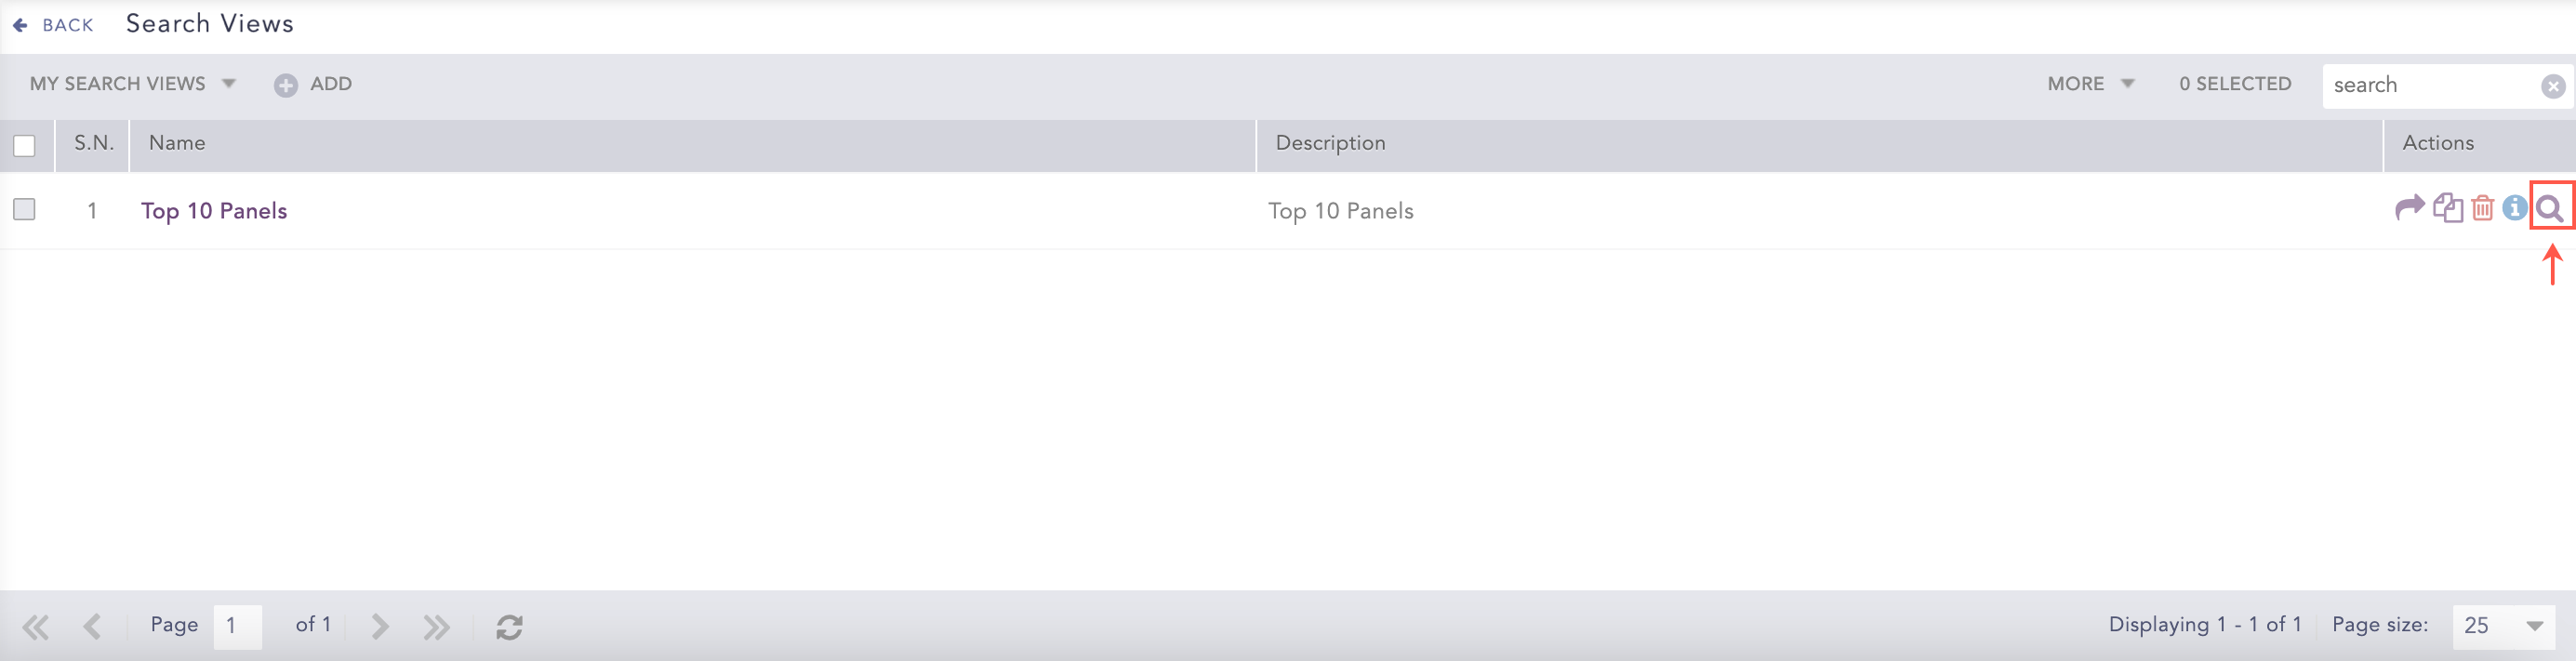
Using Search Views
Logpoint redirects you to the Search Views Interface. Here, you can manage all the information of the selected Search View.

Search Views Interface
The Query Bar appears at the top of the Search Views Interface. By default, the query results in the selection of all the field components.

Search Views Interface
For example:
action=* col_type=* device_ip=* log_ts=* sig_id=*

*   Logpoint suggests some system fields in an auto-suggest box if you type any letter(s) followed by the **space bar**.

*   Use only the simple queries. Logpoint uses query validation to restrict the usage of *aggregators*, *rex*, *norm*, and *rename* commands.
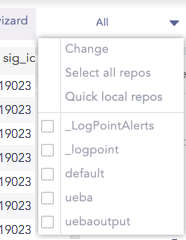
Use the Repo selector to specify the repos to extract the logs. By default, all the repos are selected.
Search Views Interface
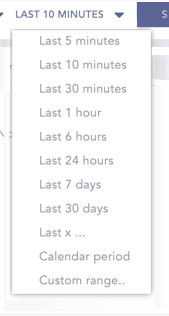
Specify the Time range to fetch the logs. By default, Last 10 minutes is selected.
Search Views Interface
Limit Results to a specific number of logs per page. The default value is set to 25.
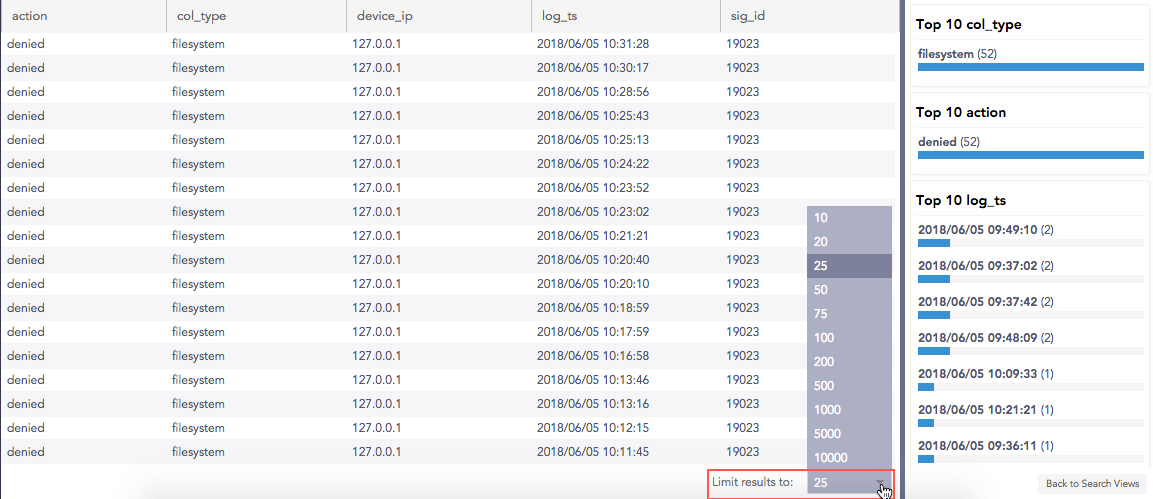
Search Views Interface
Click the search result in the Result Panel or the Top-10 Panel to perform drill-down. The selected data appends to the query and is visible in the Query Bar.
For example,
Before drill-down:
action=* col_type=* device_ip=* log_ts=* sig_id=* norm_id=*
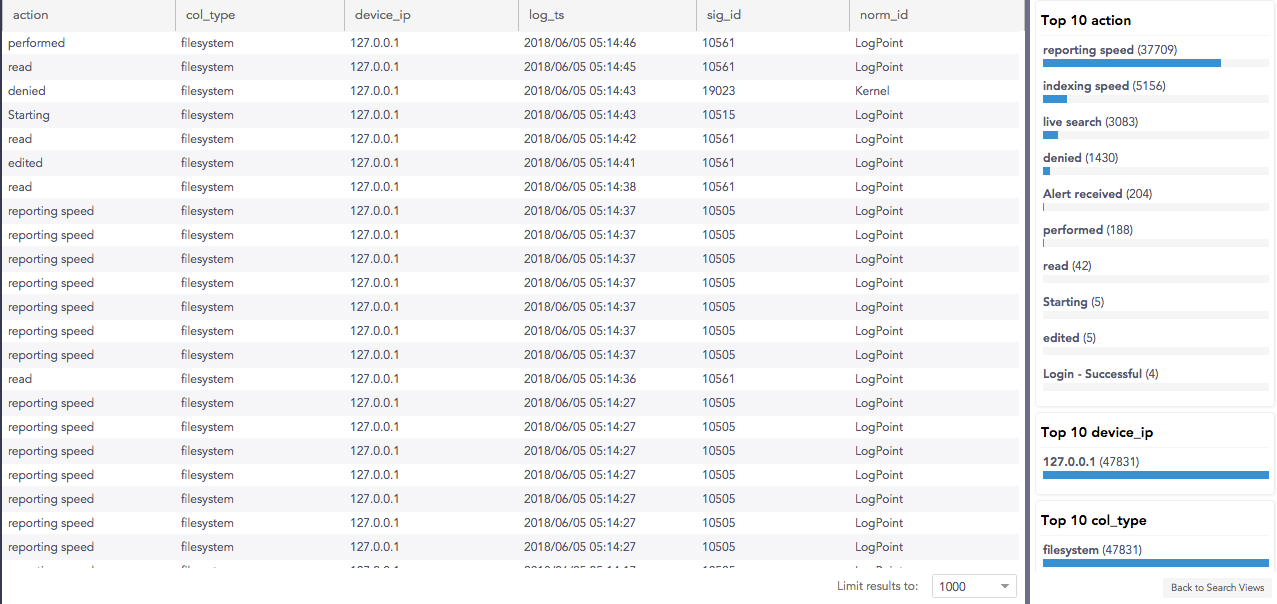
Search Views Interface Before Drilldown
After drill-down on action=”reporting speed”:
action="reporting speed" action=* col_type=* device_ip=* log_ts=* sig_id=* norm_id=*
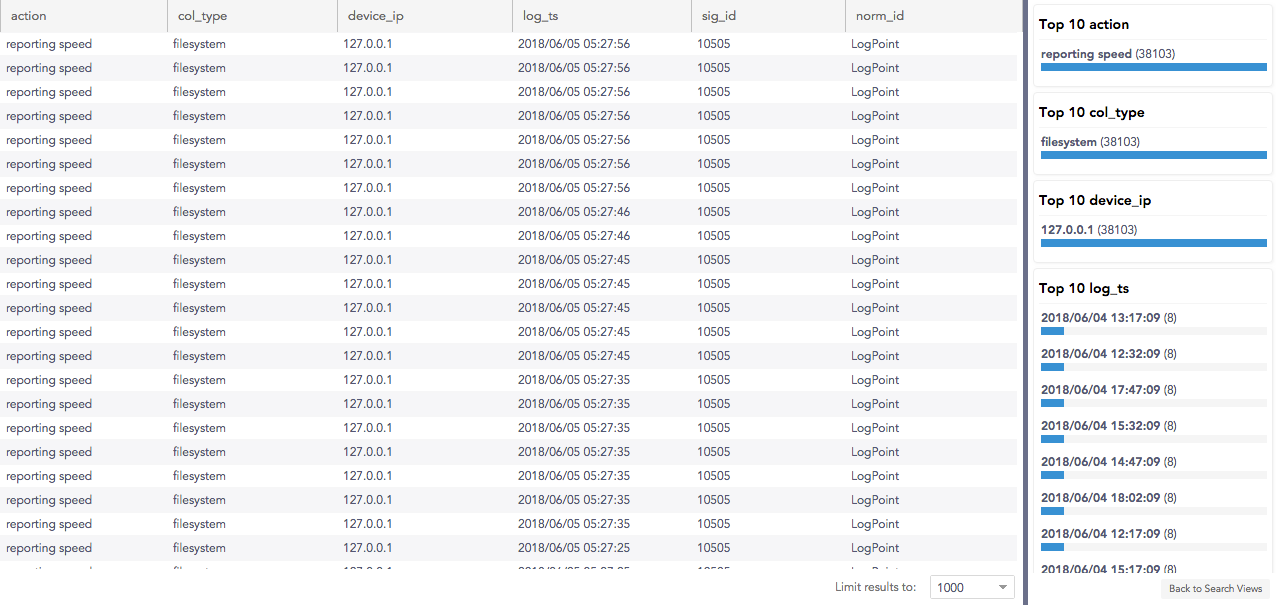
Search Views Interface After Drilldown
You can Negate the fields in the query to refine the search results from both the Top-10 Panel and the Result Panel. Press the command key (for Mac) or the Ctrl key (for Windows) and click the field component to carry out the negation.
For example,
Before negating:
action=* col_type=* device_ip=* log_ts=* sig_id=* norm_id=*
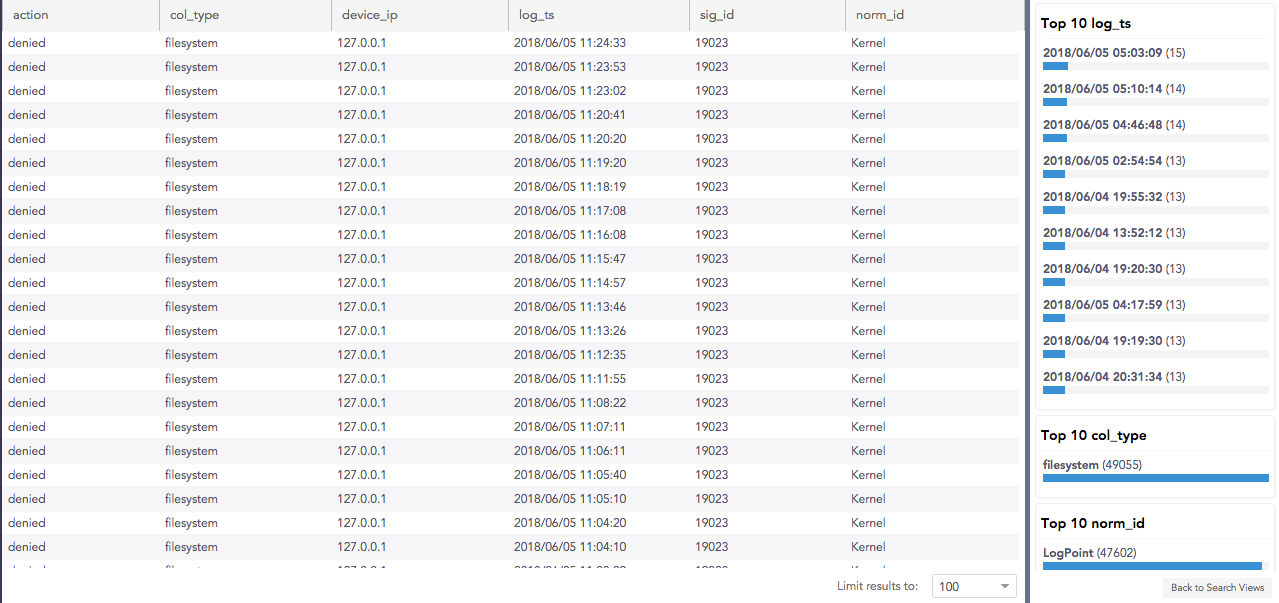
Before Negation
After negating on action=”denied”:
action= "denied" action=* col_type=* device_ip=* log_ts=* sig_id=* norm_id=*


*   You can administer the **Search Views** for the remote Logpoints from the `Distributed Logpoint </docs/distributed-Logpoint/en/latest/>`_ dropdown on the **Header Bar** in ``Settings``.

*   In the `Data Privacy Module </docs/data-privacy/en/latest/>`_ enabled systems, users with the **Can Request Access** privilege can only view the values in the encrypted form. These encrypted values cannot be requested for decryption.